How To Make A Rose Cake Decorating

Great Gatsby screams decadence. The more expensive flair, jewels, pearls, glitter, alcohol, and craziness the better. Since all birthdays center around cakes for me, I volunteered for another double decker creation for Megan's birthday that I wanted to go all out on. I found a picture on Pinterest of a gorgeous cake from a Wuthering Heights themed wedding, and Megan loved it…with the exception of the big pink flowers.


In the event of a last minute frosting tip debacle (we lost the plain round tip and I couldn't match the horizontal stripe effect), Megan allowed me to add flowers and it came out better than I could have ever expected! This cake encompasses three things I have always wanted to try with cake:
1. Roses. I've made them before on cupcakes but never as a whole layer on a cake. It was easier than I had thought it would be to achieve and looked way more impressive than the skill level it took!
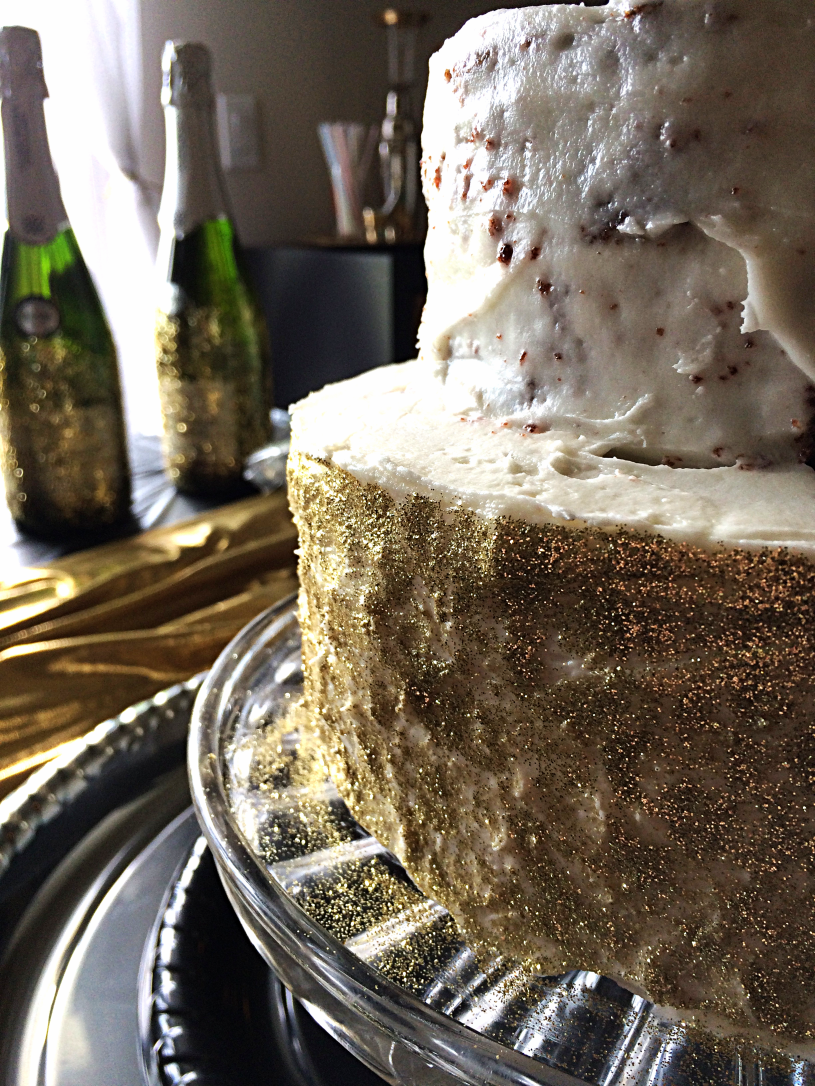
2. Edible glitter. I've seen this technique used on fondant cakes, but I wanted to see if a buttercream cake could handle it. With some patience and a light hand, I ended up with a very sparkly cake! I also found the perfect glitter than was truly gold and looked just like a craft supply.
3. Alcohol. Ok this hasn't been on my list for very long, but I added some Disaronno to the frosting instead of vanilla, and voila, a boozy cake for a boozy themed party was born!
To create this perfect Great Gatsby inspired cake, scroll below for the recipe and tutorial!
Sparkles and Roses Cake Tutorial
Supplies:
4 layer cake, made using my layer cake tips! I used this recipe for an white almond cake which was DELISH and my buttercream frosting recipe and swapped out the vanilla for 2 Tbs. of Disaronno.
2 batches of Frosting, one for the crumb coat and filling, and one for decorating
Knife
Edible Glitter – disco dust I used
Clean paint brush
Star tip and Piping bag
Edible Pearls (optional)
Gold candles – sold in store only (optional)
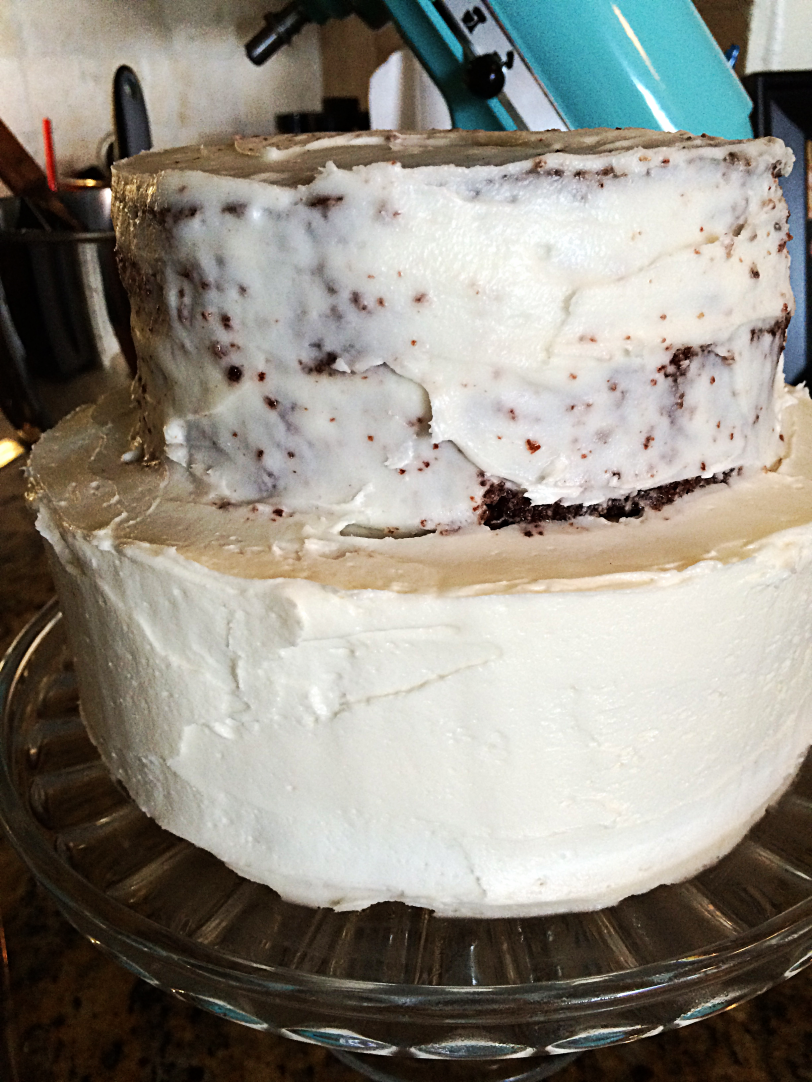
1. Start by making your 4 layer cake with the top two layers being slightly smaller than the bottom two. Cover the cake with a crumb coat of frosting. Refrigerate the cake for 30 minutes to let the frosting harden.

2. Take the cake out of the refrigerator and whip up another batch of frosting. Split the frosting into two halves. Use a knife to carefully spread another even layer of frosting on to the bottom layer of the cake, smoothing it out with the flat side of the knife. Make sure you only use about half of the frosting for this layer. While the frosting is still soft, carefully dip your paintbrush into the glitter and lightly spread it onto the top of the frosting. Though it didn't look like I bought enough glitter, a little goes a LONG way. You will have to dip the brush many times, so if you get a lot of sticky frosting on the paintbrush, just wipe it clean and keep going. Make sure to cover all of the sides and the small bit of the top that is showing.


3. To create the roses on the top layer of the cake, fill your piping bag with your star tip with the other half of the batch of frosting. Start at the top in the middle of the cake and create a swirling motion starting in the center of the rose and curling around a few times. Then repeat that pattern all around the center rose. Continue this pattern on the sides, trying to place the roses as close as possible to one another. Don't worry though, if you end up with some gaps, just fill them in with a little star by squeezing just a small dab of frosting out of the star tip onto the cake!

4. To finish off the cake, place edible pearls into the center of each rose, and top the cake with some beautiful gold candles!

How To Make A Rose Cake Decorating
Source: https://sewbakedecorate.com/2015/05/20/sparkles-and-roses-cake-tutorial/
Posted by: darcystento.blogspot.com

0 Response to "How To Make A Rose Cake Decorating"
Post a Comment